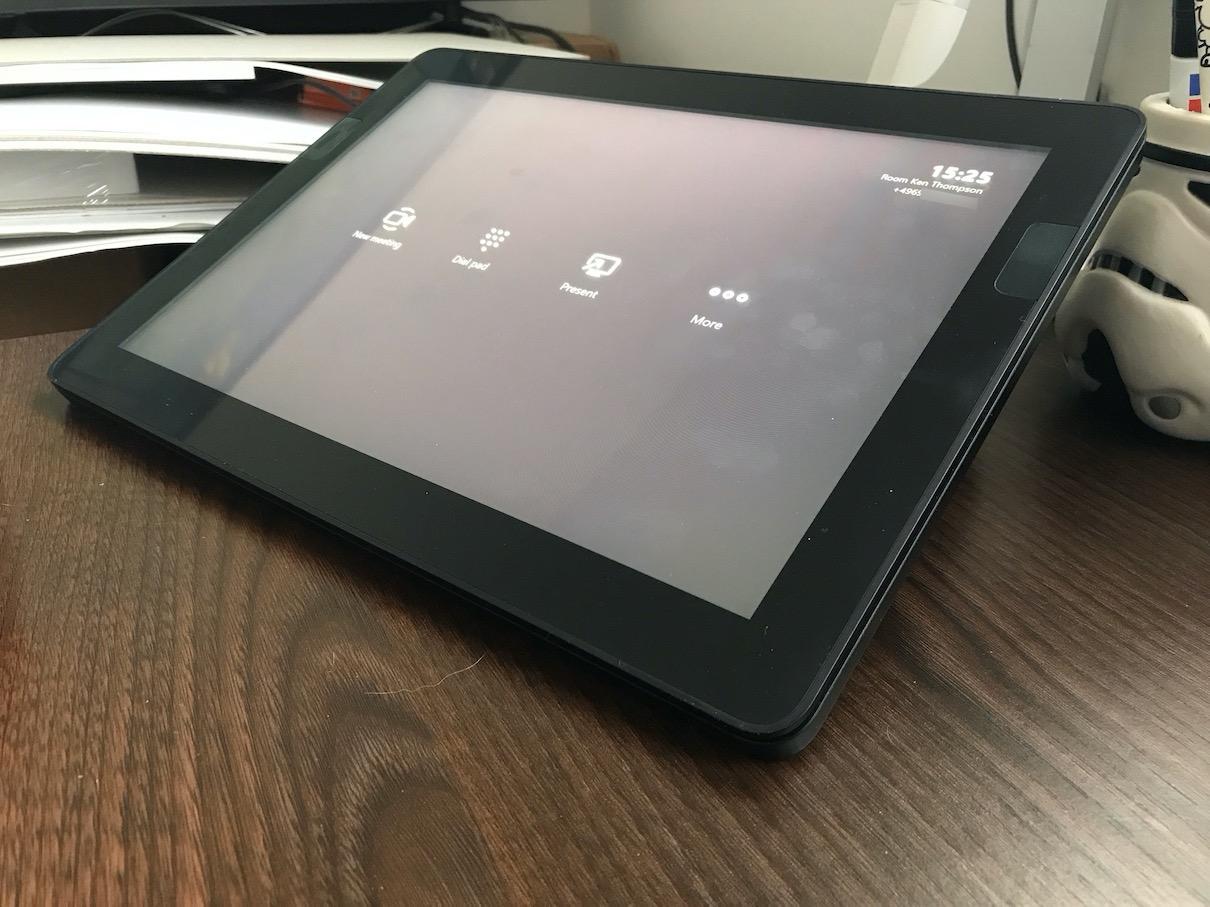
I recently blogged about Microsoft Teams Room Devices, my setup and experience with it. In the second article I mentioned my Office 365 setup and the licenses I use.
So, someone asked me to publish the Office 365 related part, and of cause I used PowerShell to setup everything.
<#
      .SYNOPSIS
      Create a Microsoft Teams Room Device in Office 365

      .DESCRIPTION
      Create and setup a Microsoft Teams Room Device in Microsoft Office 365

      .NOTES
      Review the variable here.

      You must be connected to the following Services:
      - Exchange Online
      - MSOL (Not AzureAD!)
      - Skype for Business Online (Not Teams!)

      .LINK
      https://hochwald.net/microsoft-teams-room-device-1-2/

      .LINK
      https://hochwald.net/microsoft-teams-room-device-2-2/
#>
[CmdletBinding(ConfirmImpact = 'Low')]
param ()

# Display Name of the Room
$RoomName = 'Your-Teams-Room'

# Alias of the Room (For the UPN, SMTP, and SIP Address)
$RoomAlias = 'YourTeamsRoom'

# Keep this safe
$RoomPassword = 'YourSuperSecretRoomPassword'
<#
      At the moment, the password for a room/resource will never expire!
      So keep this in a safe place. And there is no second factor (MFA).
#>

# The Domain for the UPN, and the SMTP address
$RoomDomain = 'contoso.com'

# The Response text for meeting requests
$RoomAdditionalResponse = 'This is a Microsoft Teams Team Room'
<#
      Basic HTML is supported here!
      This text will be in the meeting respoinse mail, so use it as a info or teaser
#>

# The ALIAS of the license to apply.
# In this case it is the MEETING_ROOM License in the tenant with the name contoso
$RoomLicence = 'contoso:MEETING_ROOM'
<#
      The license must be availible (Buy it before create the room)
#>

# We need one User that we use to find the SIP Registrar Pool (For Skype for Business and Teams SIP handling)
$CsOnlineUser = 'john.doe'

#region AutomatedStrings
# Build some strings
$RoomUserPrincipalName = ($RoomAlias + '@' + $RoomDomain)
$CsOnlineUserTemplate = ($CsOnlineUser + '@' + $RoomDomain)
<#
      I use the same domain for the UPN and the SMTP/SIP address,
      and I highly recommend you to do the same!
#>
#endregion AutomatedStrings

#region NewMailbox
# Create the Mailbox
$paramNewMailbox = @{
   Name                      = $RoomName
   Alias                     = $RoomAlias
   Room                      = $true
   EnableRoomMailboxAccount  = $true
   MicrosoftOnlineServicesID = $RoomUserPrincipalName
   RoomMailboxPassword       = (ConvertTo-SecureString -String $RoomPassword -AsPlainText -Force)
}
New-Mailbox @paramNewMailbox
#endregion NewMailbox

#region SetCalendarProcessing
# Tweak Calendar settings
$paramSetCalendarProcessing = @{
   Identity              = $RoomName
   AutomateProcessing    = 'AutoAccept'
   AddOrganizerToSubject = $false
   DeleteComments        = $false
   DeleteSubject         = $false
   RemovePrivateProperty = $false
   AddAdditionalResponse = $true
   AdditionalResponse    = $RoomAdditionalResponse
}
Set-CalendarProcessing @paramSetCalendarProcessing
<#
      Please review the parameters above!
      They might not match your taste or requirements
      You can add more: Use 'Get-Help Set-CalendarProcessing -details' to see all supported paramaters
#>
#endregion SetCalendarProcessing

#region SetMsolUser
# Usage location and password tweak
$paramSetMsolUser = @{
   UserPrincipalName    = $RoomUserPrincipalName
   PasswordNeverExpires = $true
   UsageLocation        = 'DE'
}
Set-MsolUser @paramSetMsolUser
#endregion SetMsolUser

#region SetMsolUserLicense
# Apply the license
$paramSetMsolUserLicense = @{
   UserPrincipalName = $RoomUserPrincipalName
   AddLicenses       = $RoomLicence
}
Set-MsolUserLicense @paramSetMsolUserLicense
#endregion SetMsolUserLicense

#region EnableCsMeetingRoom
# Enable SIP (Skype for Business/Teams)
$paramEnableCsMeetingRoom = @{
   Identity       = $RoomUserPrincipalName
   RegistrarPool  = (Get-CsOnlineUser -Identity $CsOnlineUserTemplate | Select-Object -ExpandProperty RegistrarPool)
   SipAddressType = 'EmailAddress'
}
Enable-CsMeetingRoom @paramEnableCsMeetingRoom
#endregion EnableCsMeetingRoom
As always, there is also a GIST available for this!
Please note: This is nothing fancy, it’s just the initial part to create a basic Room system in Microsoft Office 365.
Also keep in mind, that nearly everything is hardcoded and that there is no fancy error handling.
